|
|

This is a guide for fitting and removing my scratch plates.
Click on photos for larger picture.
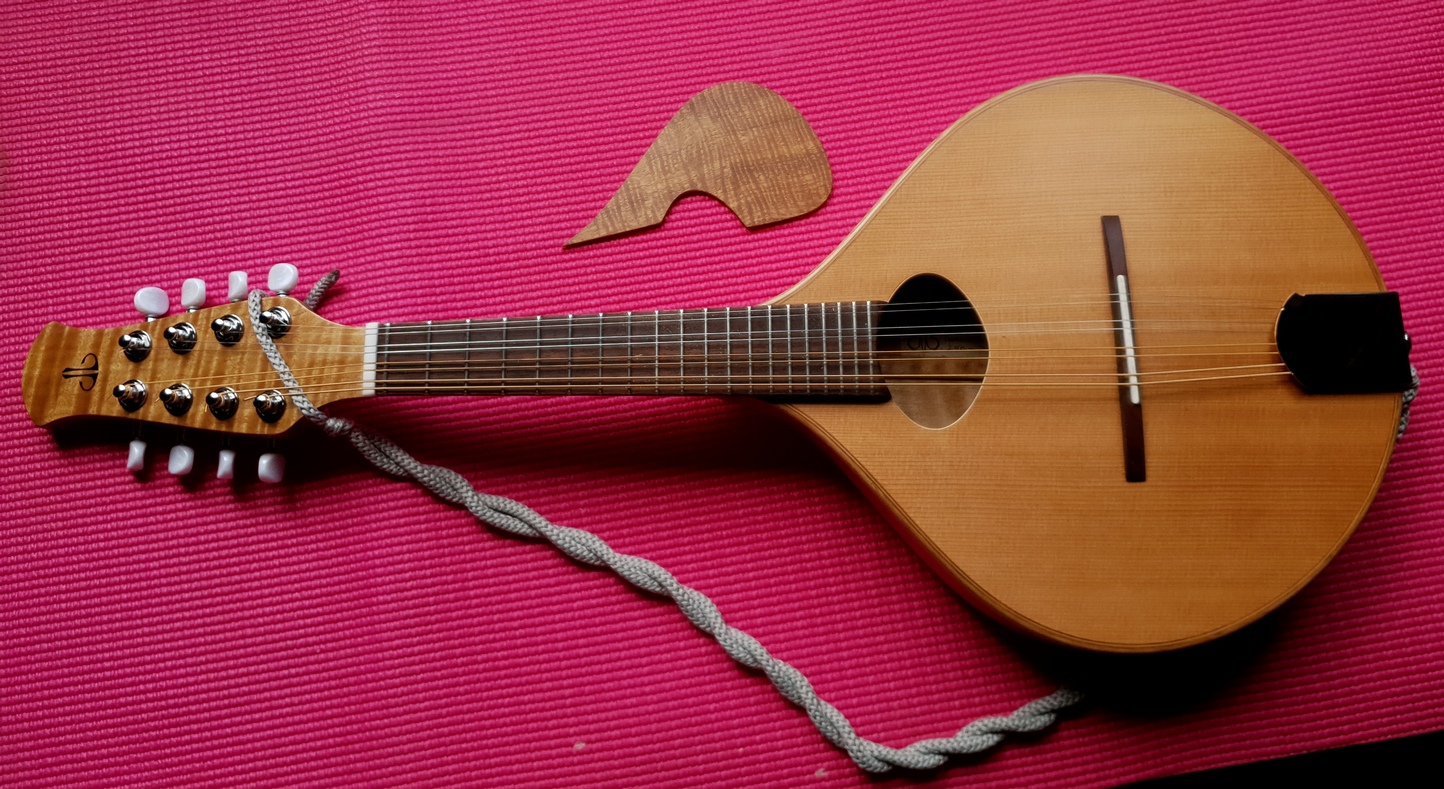 |
I have a scratchplate as an option on most of my instruments as for some playing techniques, it is an essential part. It is made from a single piece of figured wood that impregnated with epoxy resin for stability and resistance to wear. |
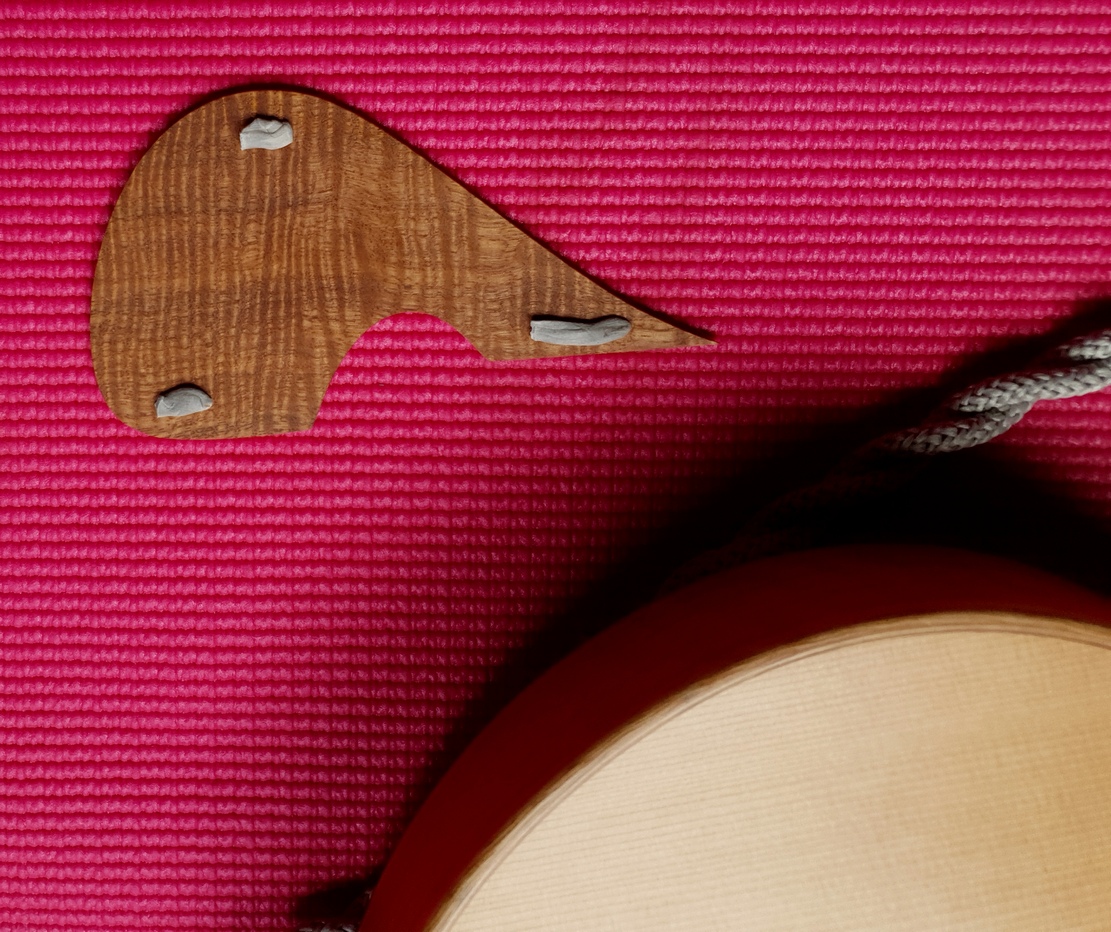 |
I prefer mounting with just three bits of mounting putty. The bit on top can be long as it sits on a solid brace and becomes the main support. |
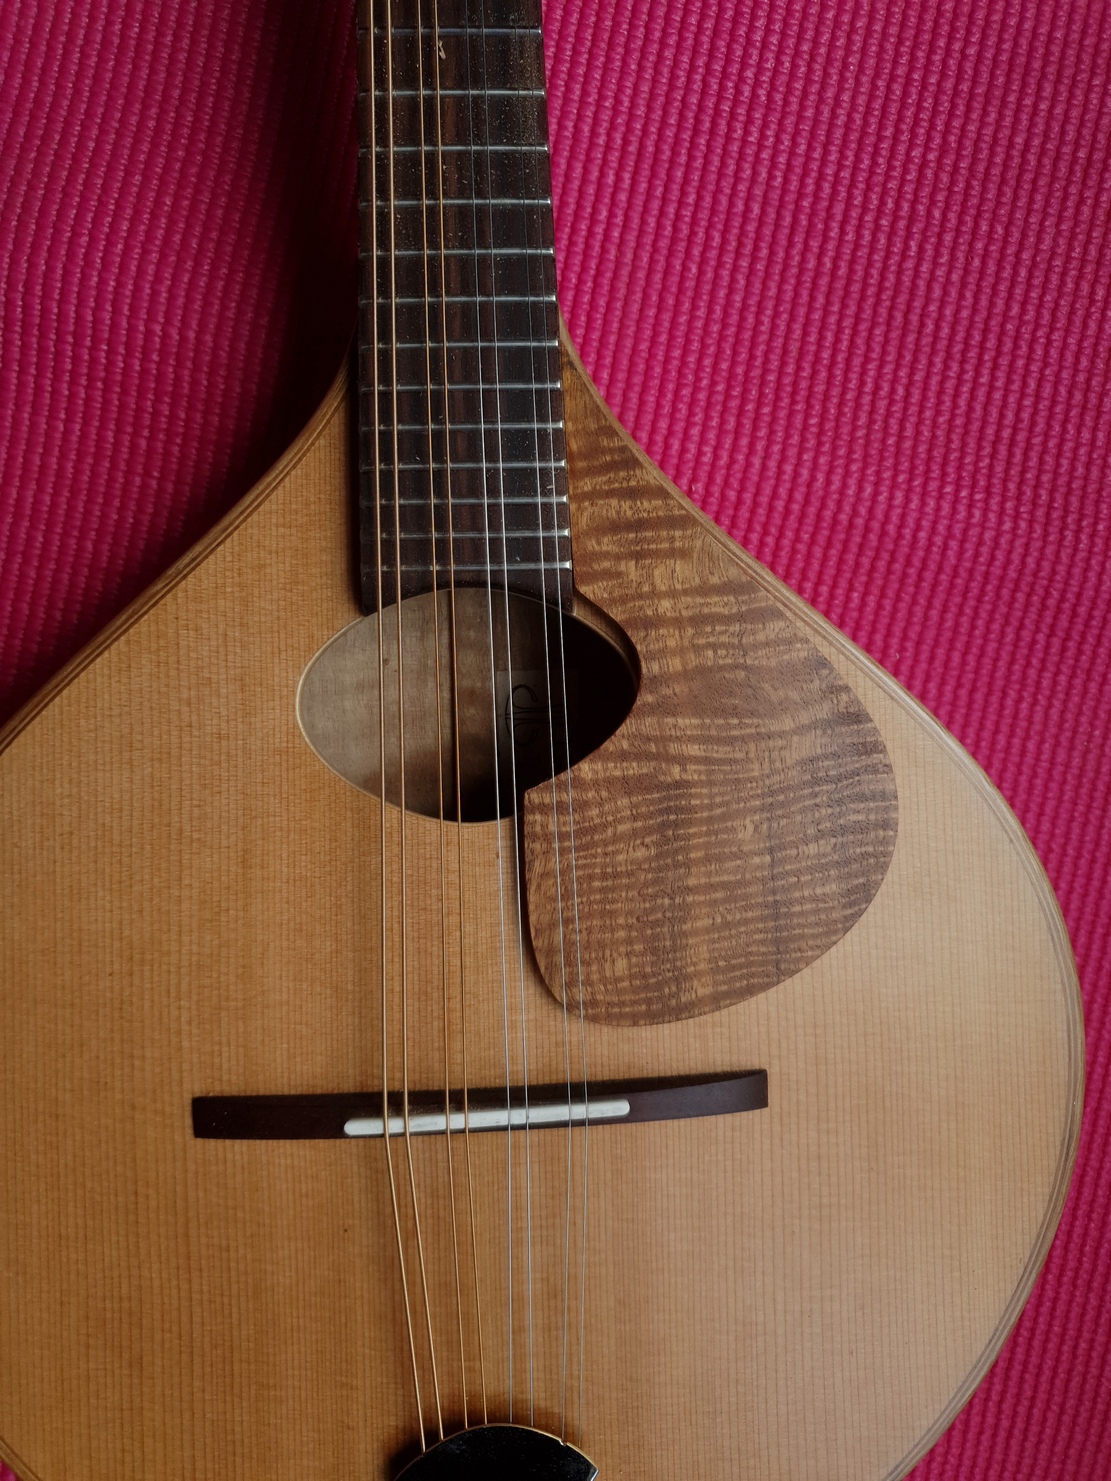 |
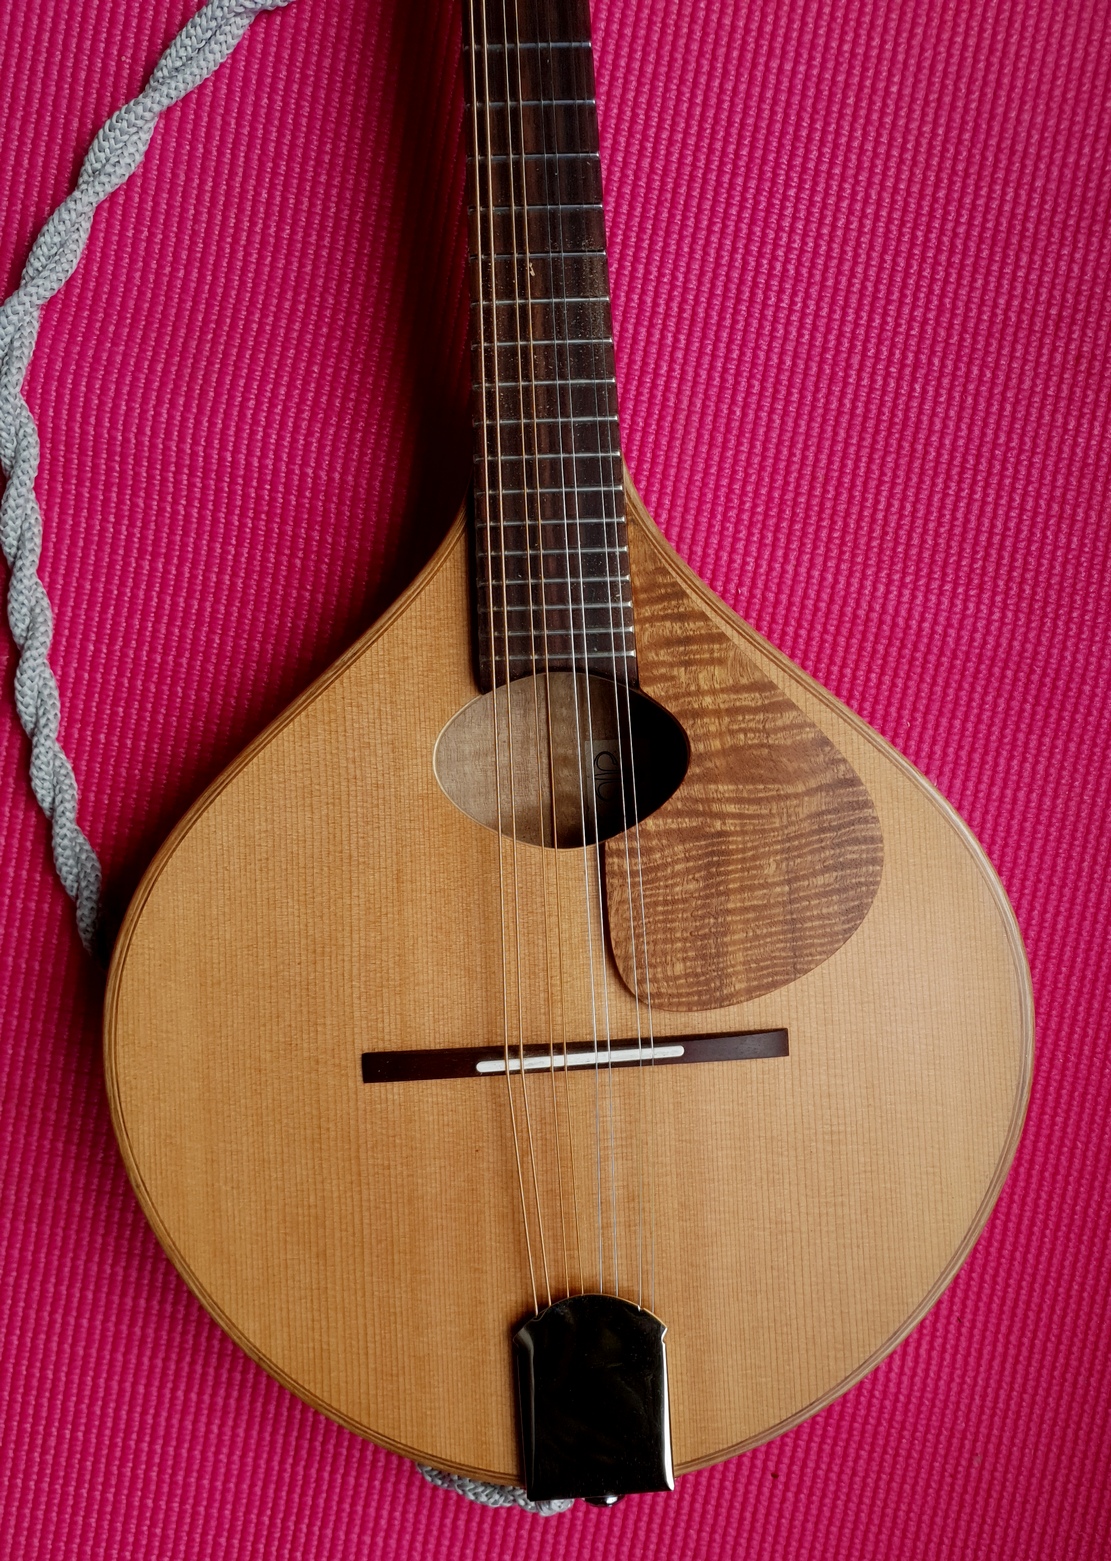
To attach it, you need to put the plate in a spot where you can slide it into it's final position. This allows the putty to spread a little and to get a grip on the surface. I like to slide it along the fingerboard edge as this keeps the correct angle as you push it towards the bridge until it lines up with the soundhole. |
 |
If it sits too high you can move it more or remove some of the putty. To remove it, put your thumb in the hole and pull gently sideways with your fingers pushing against the side. The objective is to avoid any sudden movements when the putty comes loose. |
|
|